Are you in need of a perfect way to protect your roof and beautify them simultaneously?
Then, you need an elastomeric roof coating. Roof shingles are properly secured when you use a good roof coating, and you also achieve a nice color tone and vibe for your roof.
Let’s talk about the things you need and how to go about it.
Tools & Supplies You’ll Need
If you are a technician, painter, or technical person, the things needed may look pretty basic. The equipment required is nothing out of the norm. Your choice of elastomeric roof coating should be based on adhesive quality and efficiency. You may need some waterproof sealant, too; we’ll discuss that later on.
The tools required include –
- a paintbrush,
- broom (or a leaf blower), and
- a paint roller.
Quite simple, right? You are allowed to improvise if there is a need. A long handle painter roller will be more convenient for applying a coat, especially if the roof is very big.
Steps For Applying The Elastomeric Roof Coating
After knowing all these and choosing the elastomeric roof coating product to use, here are the steps you need to take to apply the product and get excellent results:
Fix up your roof
It is essential to fix whatever is wrong with the roof before using elastomeric coats. A bad roof will consume more products while achieving lesser results.

Fixing your roof includes replacing shingles that are damaged or missing. Remove any tar that is on the roof to avoid poor adherence. Do a general check on the roof to make sure everything is set, and you are good to go.
Before you start the project make sure to check the quality of the ladder for safety. Plus, we recommend wearing safety harnesses as well to protect yourself from accidents.
Apply roof sealant beneath the shingles
The is probably the most hectic part of the job. It requires you to bend most of the time, towards the surface of the roof. You have to lift the individual wraps of shingle and apply the elastomeric coat beneath them.
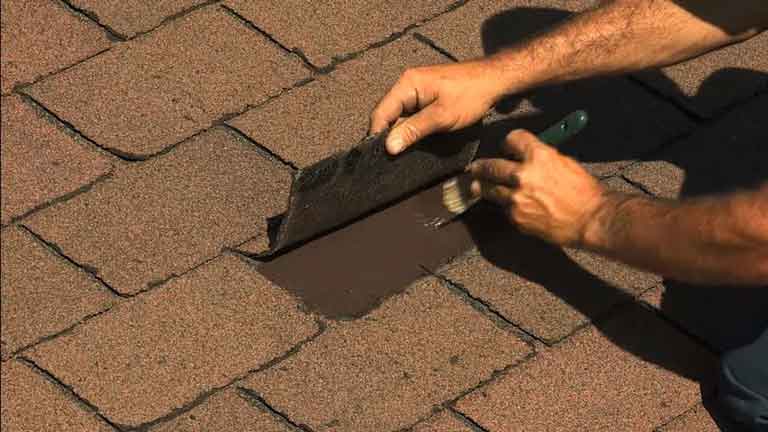
From experience, it is not as hard as it seems. After applying the coat under the shingles, it is good to pin them down with a stapler.
Seal the joints and available cracks
This is where you will need a waterproof sealant. This step may not be necessary for you if your roof doesn’t have any cracks and the joints are intact.
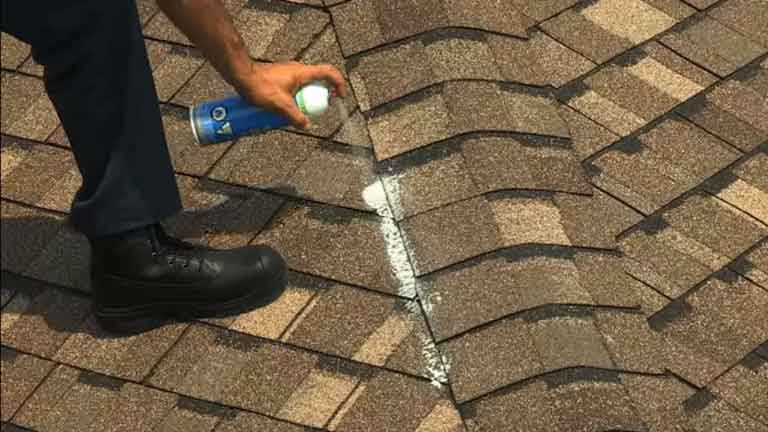
Regardless, I strongly recommend reinforcing the joints with a suitable sealant, even if they are in good shape.
Clear off the debris and scattered leafs
A leaf blower, that’s the trick, but a broom can serve the purpose too. Move around the roof and get every particle, leaf, litter, mildew, lichen, fungus, and debris off the roof.
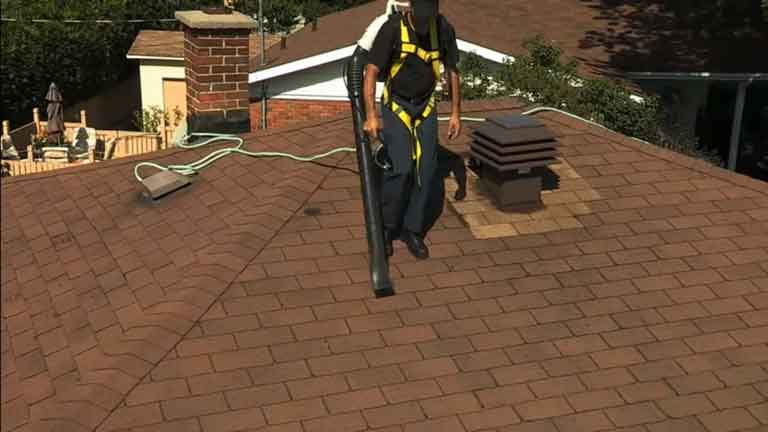
The preparatory cleaning done before is not enough. The wind might have blown particles on the roof, and those particles will hinder the next step. With a leaf blower, the job is fascinating.
You can use reversed vacuum cleaner as well to get rid of the loose dust on the roof.
Apply product to edges
You need to properly apply the product to the edges available, the edges of vents, edges of chimney escape, and any other edges available on the roof.
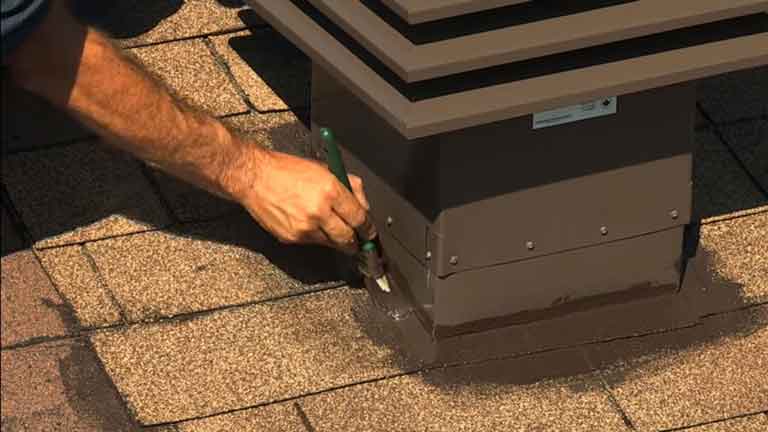
You won’t want to go back to this after your job is done. Small paintbrushes are very effective in getting those corners adequately worked with accuracy.
Apply products to the surface
Here comes the major stroke. You need to get the elastomeric roof coating all over the surface of the roof, and you don’t want to be stingy about it.
Using the extra product is better than using less. This is what about the color toning magic. Apply sufficient product using a paint roller, preferably a roller with a long handle.
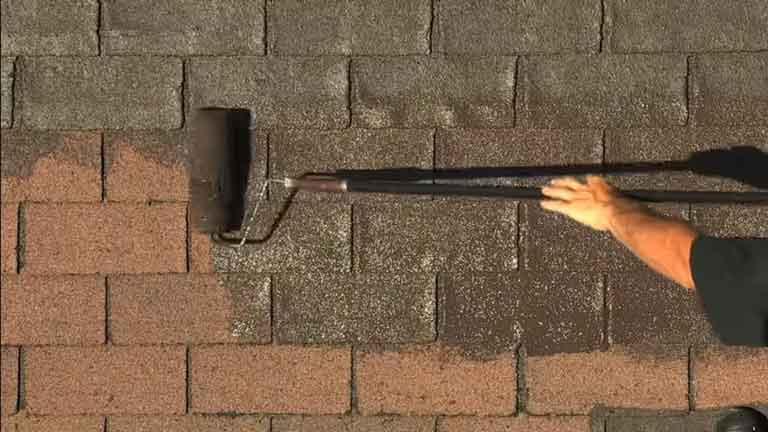
A roller with a short handle will have you bending over again, something you have already done before, and you can avoid it. Use the roller horizontally to fit the shingles’ pattern and take around five shingles with a stroke.
You will surely want to get this done well once and for all. A roof coating can be slippery, and you don’t want to keep stepping on the coated surface to rework poorly coated parts.
Wait and reapply roof coating
Under preferable weather conditions with temperatures between 15 degrees Celsius and 25 degrees Celsius, most elastomeric roof coats will take between 12 hours to 24 hours to totally dry.
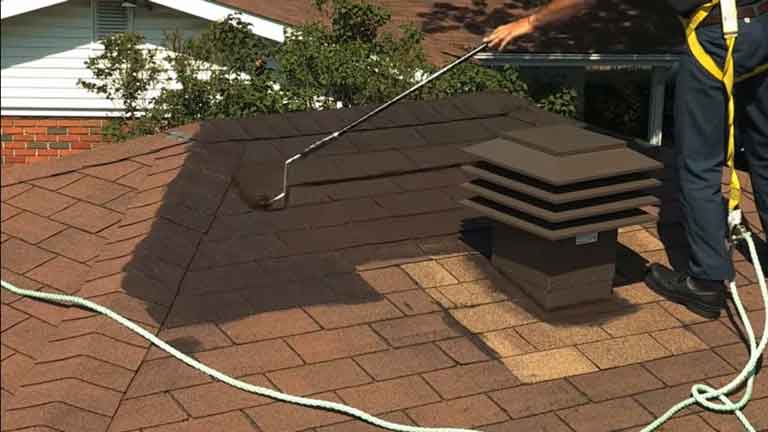
After the product is properly dry, apply the elastomeric coating again to wrap up the process. Let the new coat dry off and watch your roof properly toned and protected.
If you notice some parts were not evenly taken care of, you can always reapply the coat till you are satisfied. Generally, applying the coat twice never fails if your product is authentic.
Roof Coating Application Tips
To cover around 350 square feet, you need about 15 liters of a roof coat (Well, coverage depends mostly on the product you choose). If the roof is very clear, it might cover well over 400 square feet. Coverage expectations can be altered by shingle conditions, age of the roof, smoothness of surface, and the preparation process as well. Older roofs generally consume more products than relatively new roofs.
Roof coating products usually take around 12 hours to dry up after use. Serious rain or excessive dew can destroy the effectiveness of the product. If the atmospheric temperature is less than 15 degrees Celsius, you might have to wait for a whole day before the coat dry properly.
Harsh weather conditions where the temperature is below 5 degrees Celsius or over 35 degrees Celsius is not appropriate for applying elastomeric roof coating.
Conclusion
If the product is good and you follow the steps properly, you will be satisfied with the result. You can test the coat with 4 square feet to confirm the expected outcome before using the coat to the whole roof.
Before applying the coat, stir the product well to make sure distribution is even. Most warranty clauses are valid if you apply one liter to about 12 square feet.
Make sure your roof is dry, warm to touch, and clean before working. The whole process is fun when you get it right.
Leave a Reply