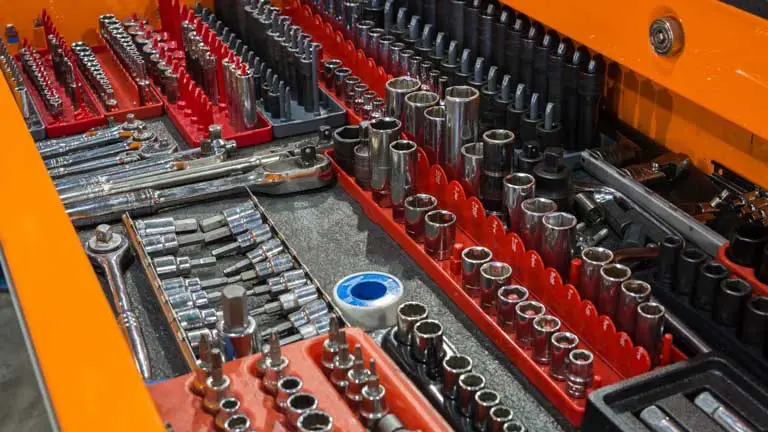
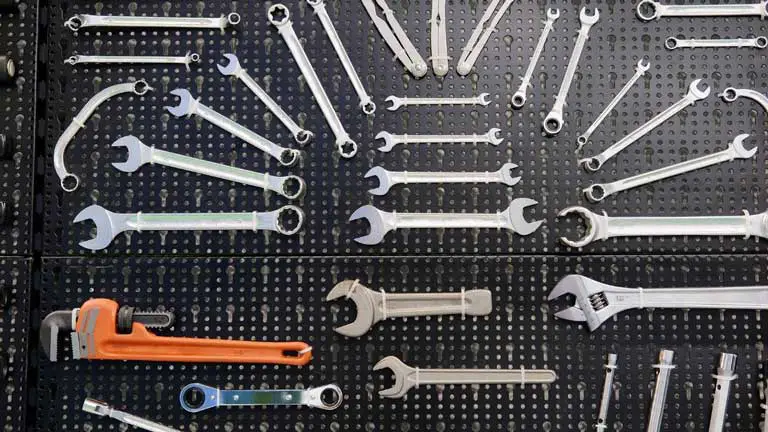
Have you ever been frustrated that your tool chest is a mess? I know how it feels, time and time again. I was constantly having to search for tools, and then would have to clean up the chest afterward forgetting where I “typically” placed items.
A lot of times, there were even missing tools which made me more irritated than before. But no more! With this blog post, you too can learn how to organize your tool chest in 9 easy steps!

1. Identify the Tools You Need to Organize
The first step in organizing your tool chest is to identify the tools you already have and group them according to what they are used for: cutting, measuring, etc.
If this seems like a lot of work, don’t worry – it’s only temporary! Once everything has been organized by type (like saws or hammers), you can put them in their appropriate places.
2. Find Missing Tools
The second step is to identify all the tools that are missing! You may be surprised by how many there might be, and it’ll make your organizing process a lot easier if you fill those gaps now rather than later. While this will require some work from your part, it’s worth spending those extra moments to save time later on.
3. Find Appropriate Places for Tools
The third step is to put your tools in their appropriate places! If you have a lot of space, this will be easy and all the different parts of your tool chest can share that space equally.
But if you’re like most people with limited storage, then it’ll require some planning: Do I want my saw blades or hammer in the same storage space or do I separate them? Do I want to store my work gloves in the same compartment as my screwdrivers or do I keep them in their own space? Ask these questions to yourself and go with the way that seems reasonable to you.
When planning the space for specific tools make sure to think about weight and size with their use cases. You won’t want to have your gloves sitting with a saw blade.
4. Use drawer liners to keep things in place
Drawer liners will help you prevent tools from moving when you open and close the drawers. They help protect the chest from scratches, too. You also don’t want tool handles poking out into other drawers.
Some drawer liners come with a built-in tool tray. If you don’t want this, then use empty egg cartons to create your own compartmentalized area.
Drawer organizers are also great if you have too many tools in your chest and need more organization options. You can get these at any home improvement store or online shop.

5. Keep your tools in one area and have a designated space for them
Having designated space for each tool will help you find what you need quickly and easily.
Keep the tools that are used most often in a convenient spot, like the top of your chest. If they are not heavy or bulky, just pile them on top of each other so you can grab whichever one is needed without digging through all the drawers. This also helps to keep everything organized.
Another trick you can apply is to mark the spots with different colors so you can tell which spot is for what kind of tool.
If your chest has a pull-out tray, take the top tools and put them in that area so it will be easier to grab whatever you need quickly when needed.
The heavy or bulky ones should go on the bottom drawer because they are harder to reach from above.
6. Use custom foam organizers
Longer tools like screwdrivers and wrenches can be stored in foam organizers, which are inexpensive and come in a variety of sizes to suit your needs. They’re also easy to clean since you just wipe them down when they get dirty or dusty.
If you want to save some bucks, you can simply buy foam sheets at the hardware store and customize your own organizer from scratch.
The upside of this approach is that you can design it to fit any size or shape, but the downside is that you’ll have a lot more work on your hands if you want it to look really nice and neat.
7. Remove unnecessary tools from eyesight
Step aside some unused tools and make room for the new ones. All other tools should be organized according to their size, shape, weight, and use cases: long or big in one place; light and small things in another drawer.
You may have some broken tools that you don’t want to throw away. Keep them in a neutral place, not too close to the working area but still visible so that if one day you need it, you’ll find it quickly.
Tools are usually very expensive and there is no point in buying new ones just because you are not organizing them perfectly. So, start organizing before you lose some important tools.
8. Keep Things Organized Everyday
Doing a 5 minute re-organizing will save you a lot of time in the future.
Keep your tools well organized and you won’t be asking yourself where they are when needed, which is often the case for many people with too much stuff on their hands.
It’s important to stay focused on what you’re doing at all times because if you get distracted by looking for an object, you’ll lose concentration from your job and may end up doing a much worse job than expected.
9. Organize things according to your preferences
Organize things according to your preferences is a bit of good advice for those who want to see their tools at first sight. Plus, giving the tool chest a personalized touch will help you to feel more at ease and less stressed.
A small effort in changing the outlook of the tool chest will give you a stress-free worktime.
Final Words
We have covered the basics here to guide you in the right direction. It’s ultimately your choice as to how you want to see your tools inside the tool chest.
You can organize the different types of grips, hammers, and other heavy objects on top shelves while keeping sharp blades that should be kept away from children in a drawer below them.
The last thing you want is someone getting hurt by the tools you kept unattended.
Leave a Reply